This is how we installed our composting toilet in our motorhome
It’s easier than you might think
We decided to swap the conventional cassette toilet for a composting toilet and installed the composting toilet ourselves and it is pretty easy.
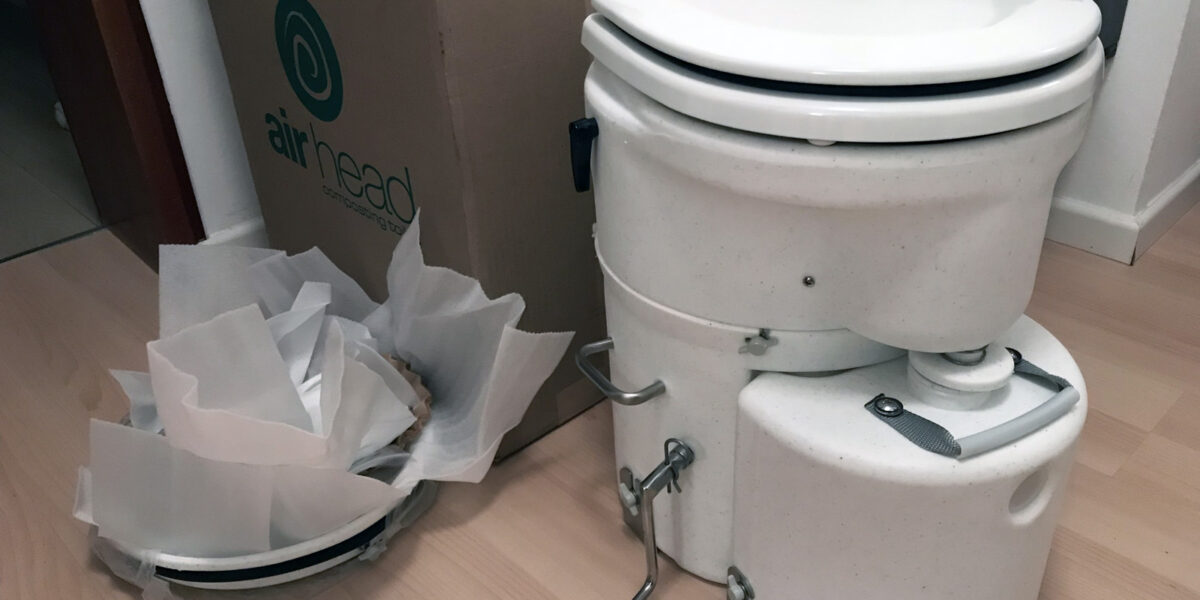
We wanted a product that is already proven and fits into our bathroom. Since we don’t have much space in our bathroom we ordered the AirHead in this configuration:
marine seat
flat back solid tank
7.6 liter urine tank
left crank handle
straight fan housing
Remove the conventional cassette toilet
First, we needed to remove the cassette toilet (we had a Thetford C260):
Take out the cassette.
Remove the screws that fixed the toilet on floor and wall. We removed the screws via the service door.
Unplug the electrical plug, withdraw the water hose from the connector
Remove the old toilet.
Install the composting toilet
Next, we installed the composting toilet.
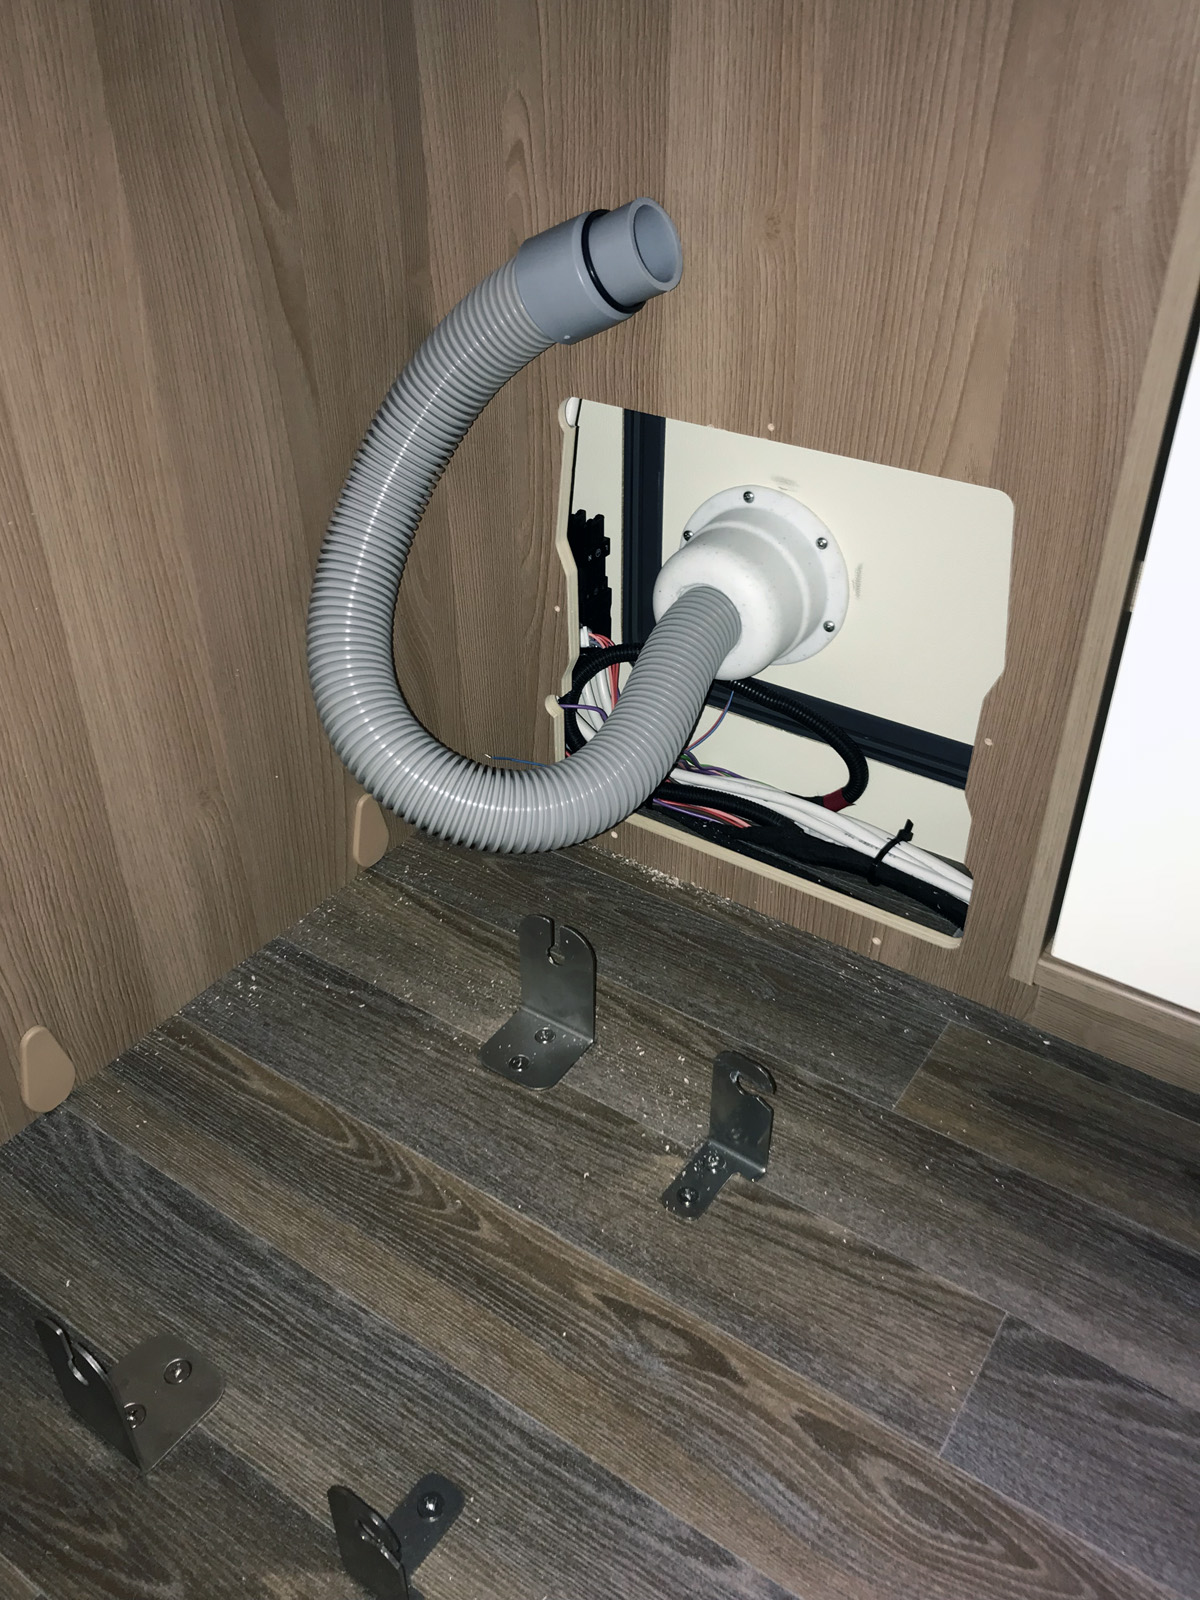
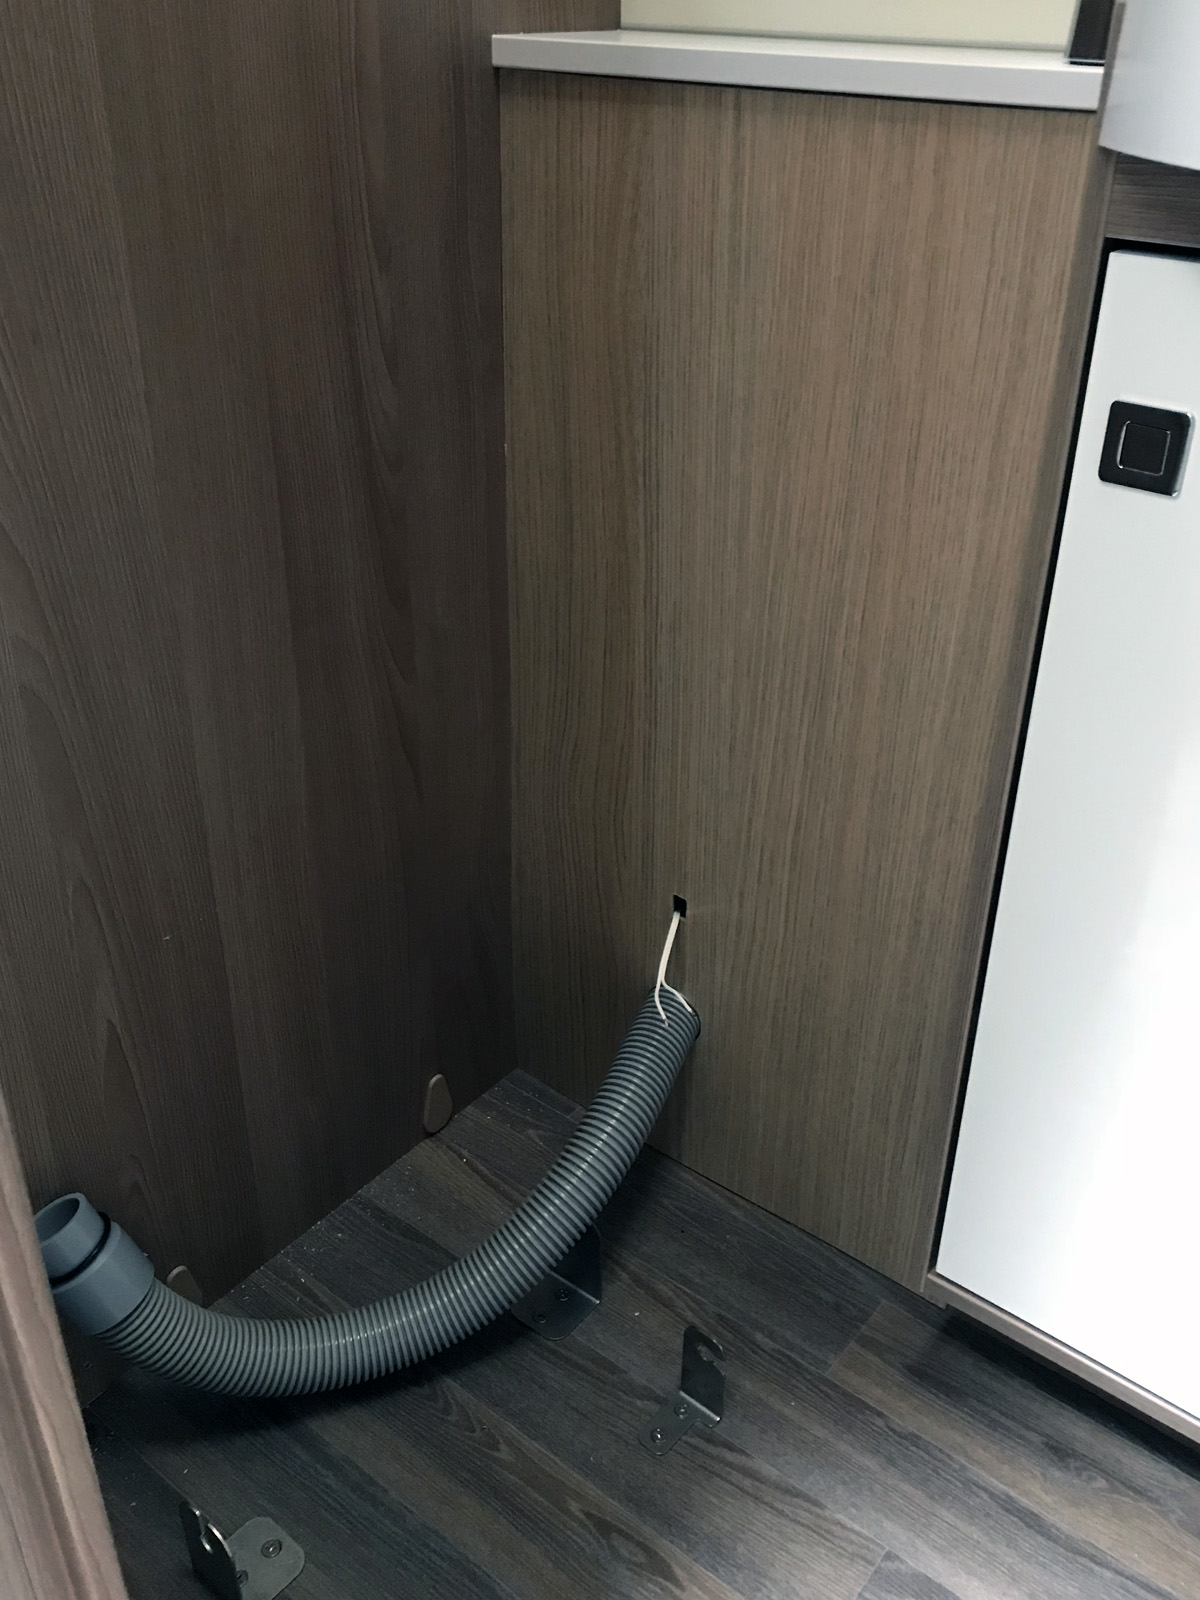
Installing the tanks: The composting toilet is an all in one system, it is very easy. We attached the provided mounting brackets to the floor. Since we have a solid wooden floor, we had to predrill holes and then fix the mounting brackets with screws. Then the solid tank is just put in the middle of the mounting brackets. On top of that the toilet head is mounted and the liquids tank is clipped to the front.
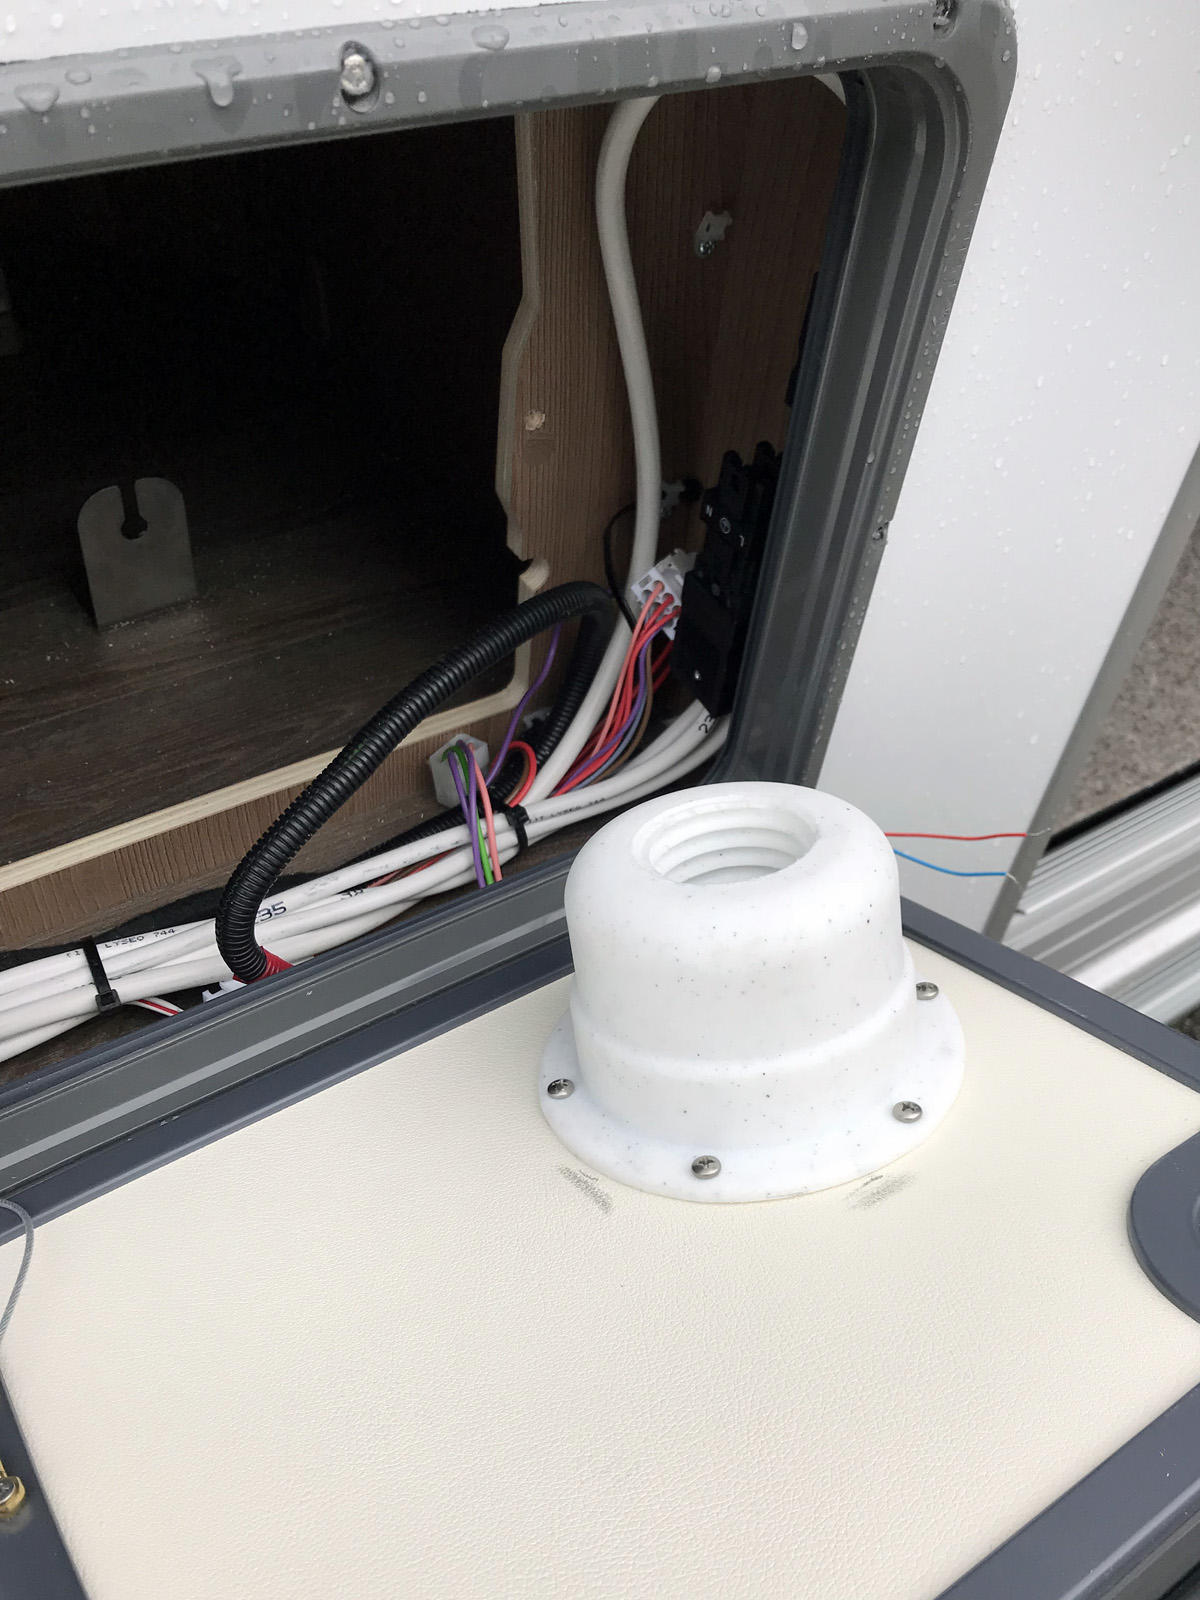
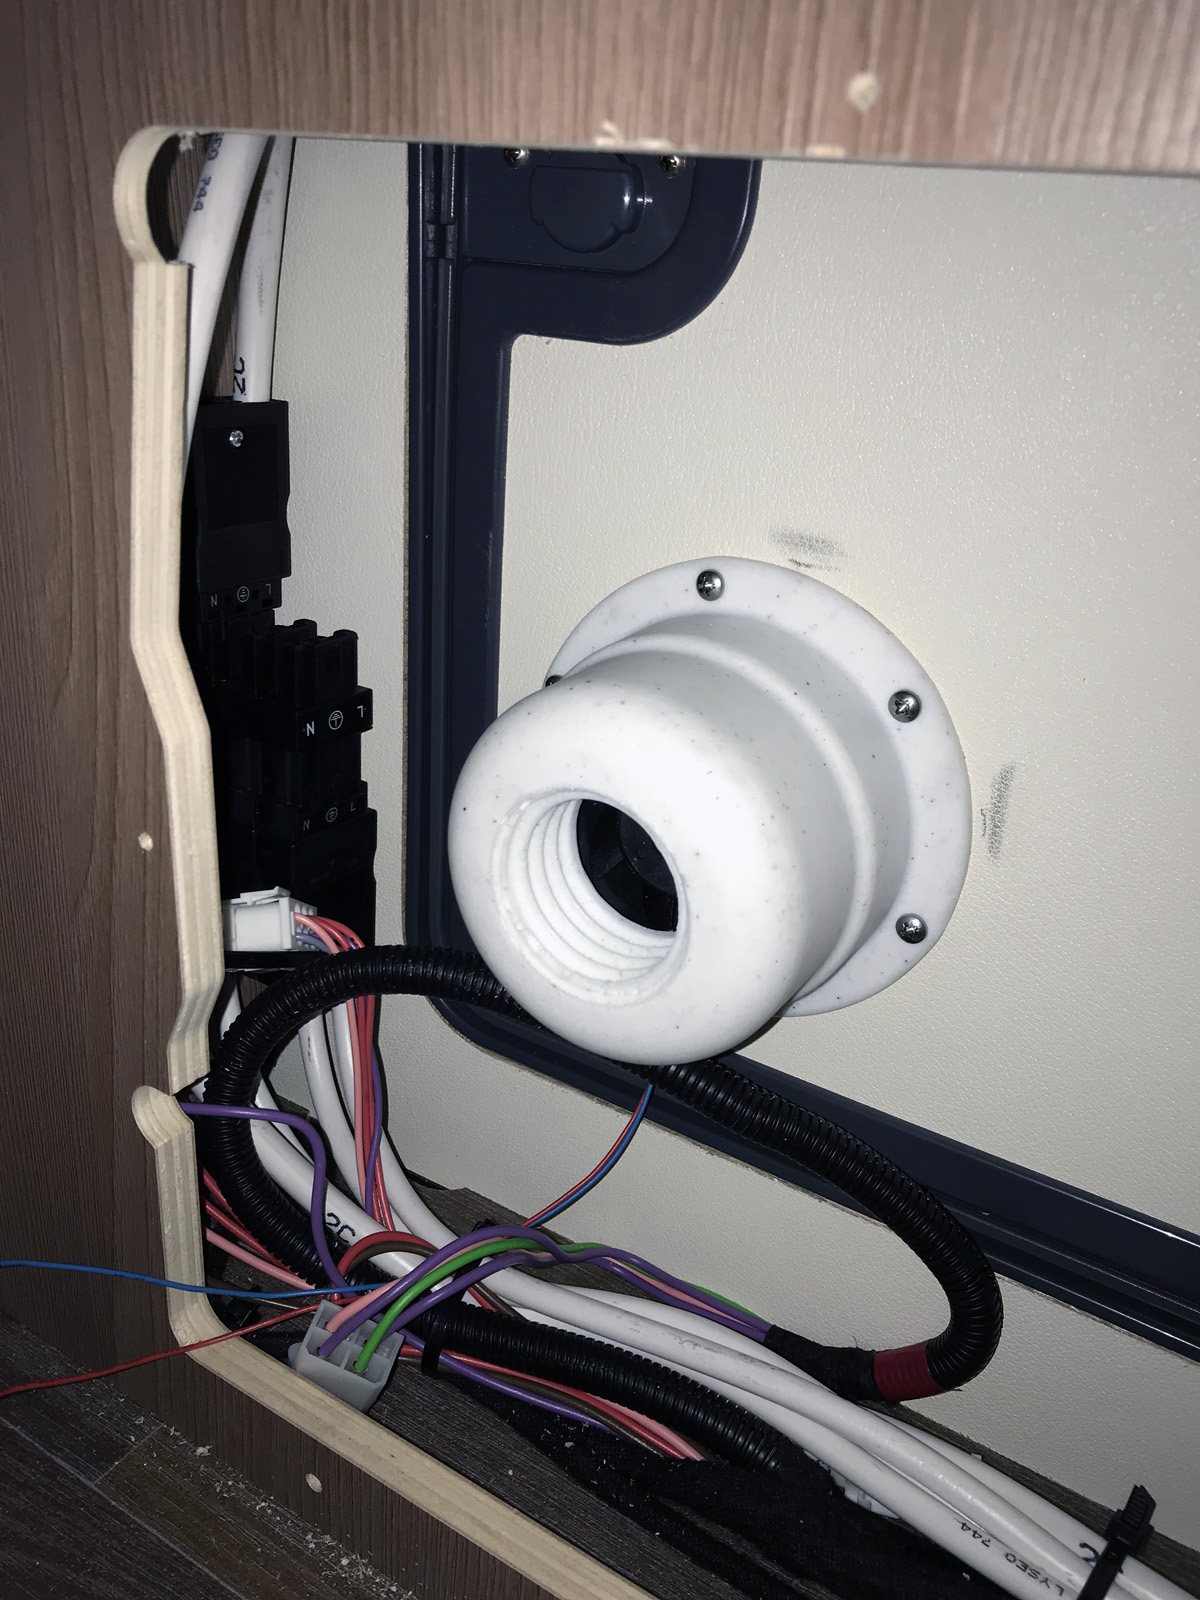
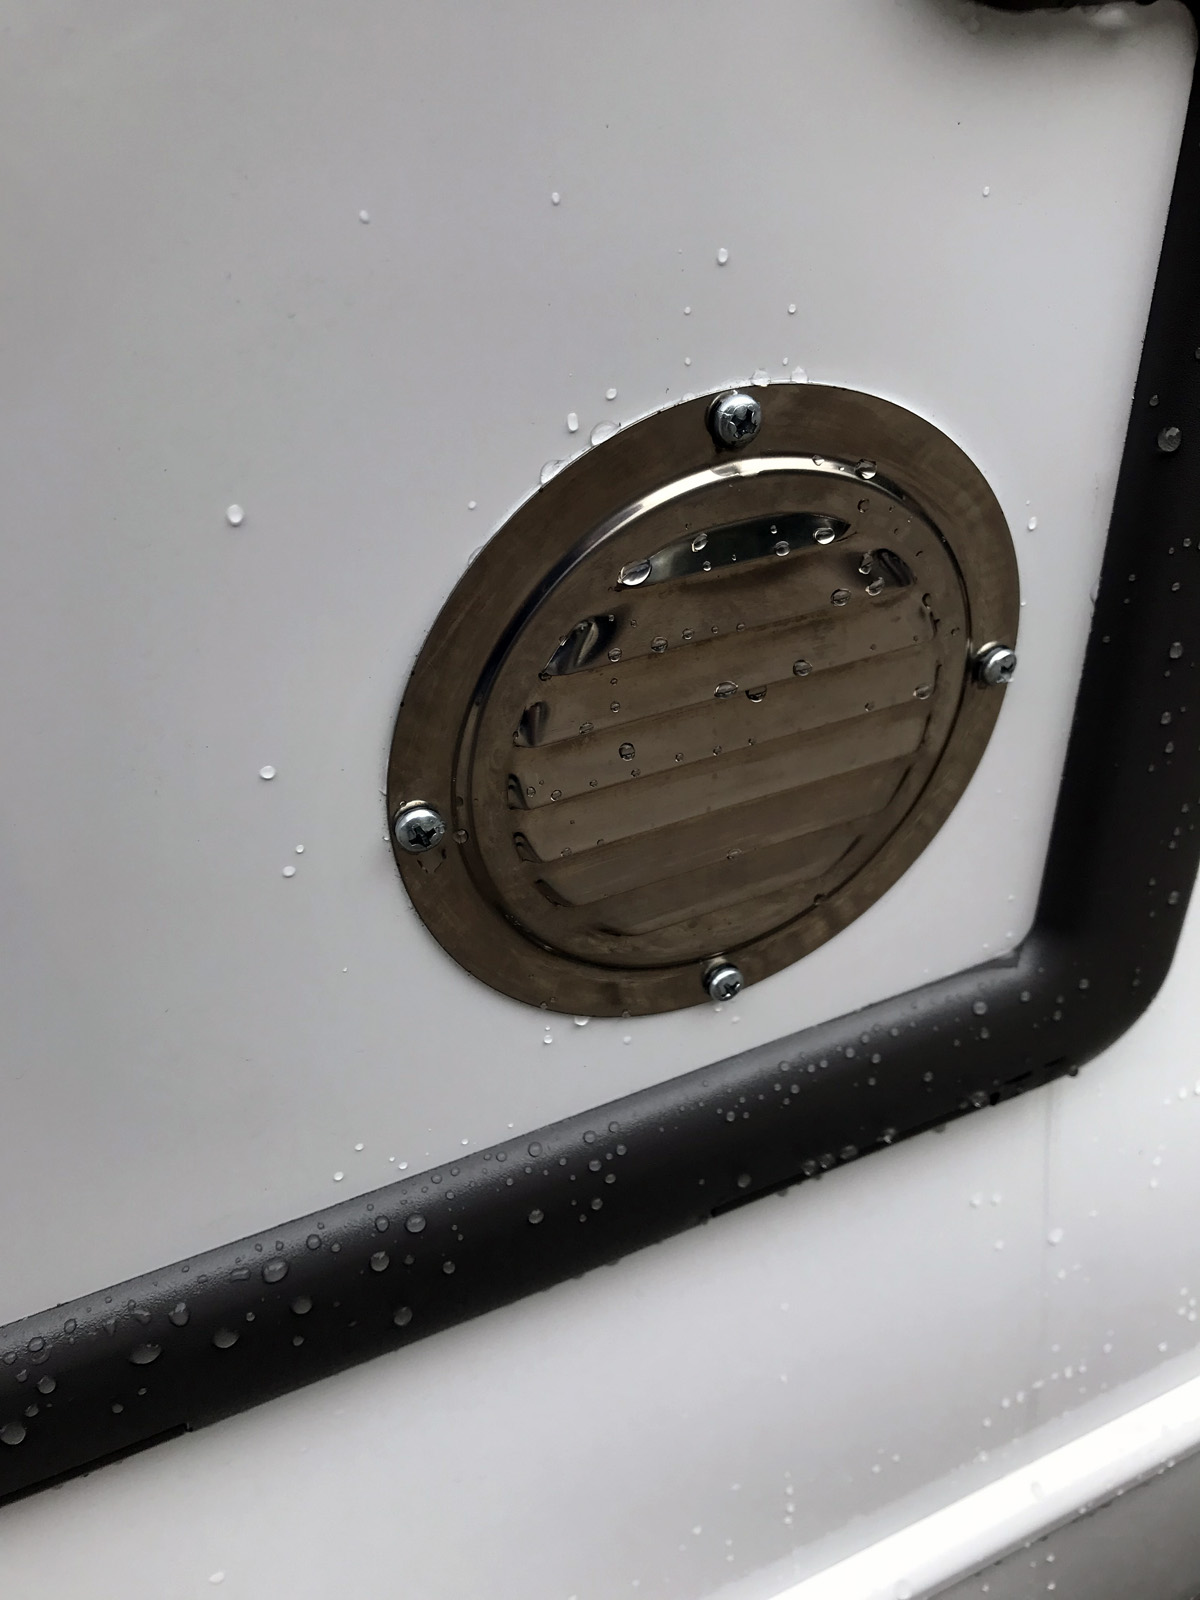
Installing the ventilation: This part is a little bit trickier. At first, we drilled a hole into the service door. Theoretically, you could also drill a hole into the motorhome body shell. However, we thought: If we (or the next owner) want again a chemical toilet, we just need to exchange the door and don’t have a hole in the body shell. Then, we had to attach the fan from inside and the ventilation grid from outside. Additionally, we masked the edges of the hole with duck tape and sealed with silicone. That way, we protect the styrofoam that is integrated into the body shell from humidity. In the next step, we connected the fan with electricity, shortened the extract air hose and connect the hose with the toilet – don’t forget to insert the insect grid.
Last but not least – some beauty enhancements:
We adhered a MDF to the wall in our bathroom to cover the holes of the old cassette toilet and the flush handle.
We integrated an on/off switch for the fan in the new MDF.
Finally, we exchanged the T-hose water connector that supplied water for the chemical toilet with a straight hose connector. That way, there are no dead ends and don’t create deposits.
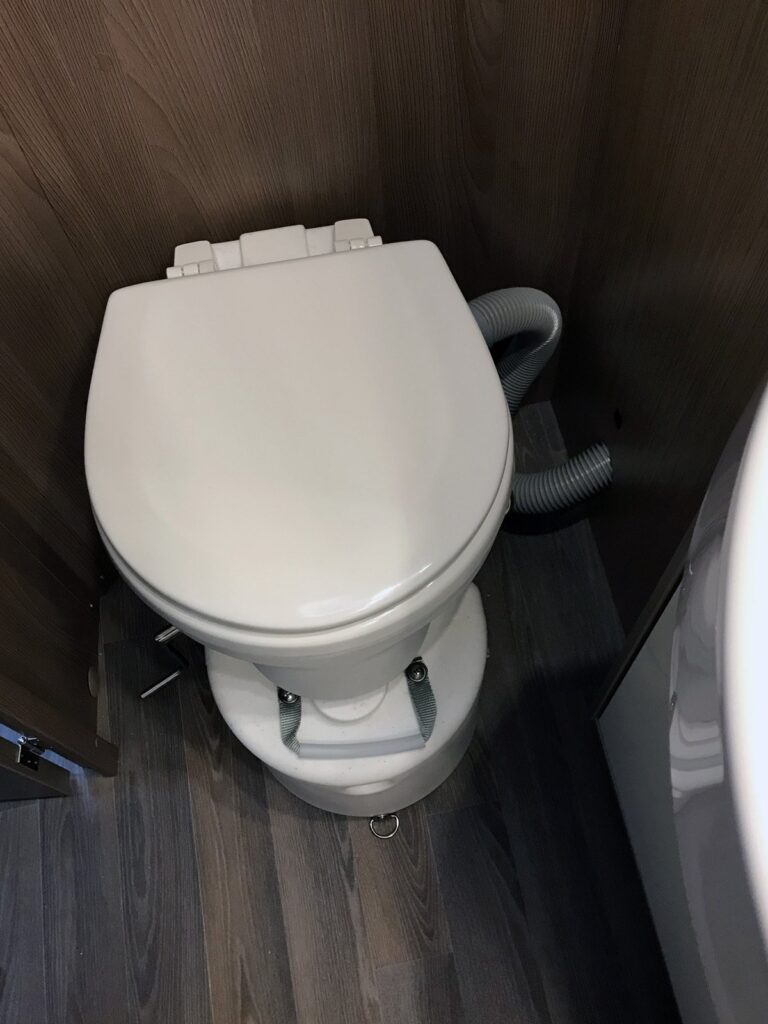
This is the after picture after we successfully exchanged our toilet:
Ähnliche Artikel
What is needed to live off-grid There are far fewer campsites in the Peloponnese than in Spain, for example. Most are closed in winter. It's time to park your camper off-grid. Luckily we are self-sufficient with…